Passionate about Paper Crafting, Vintage items, DYI and just being creative.Release your creative inhibitions today!

Showing posts with label card making. Show all posts

Sunday, 4 June 2023

Multi-Project post using one collection!

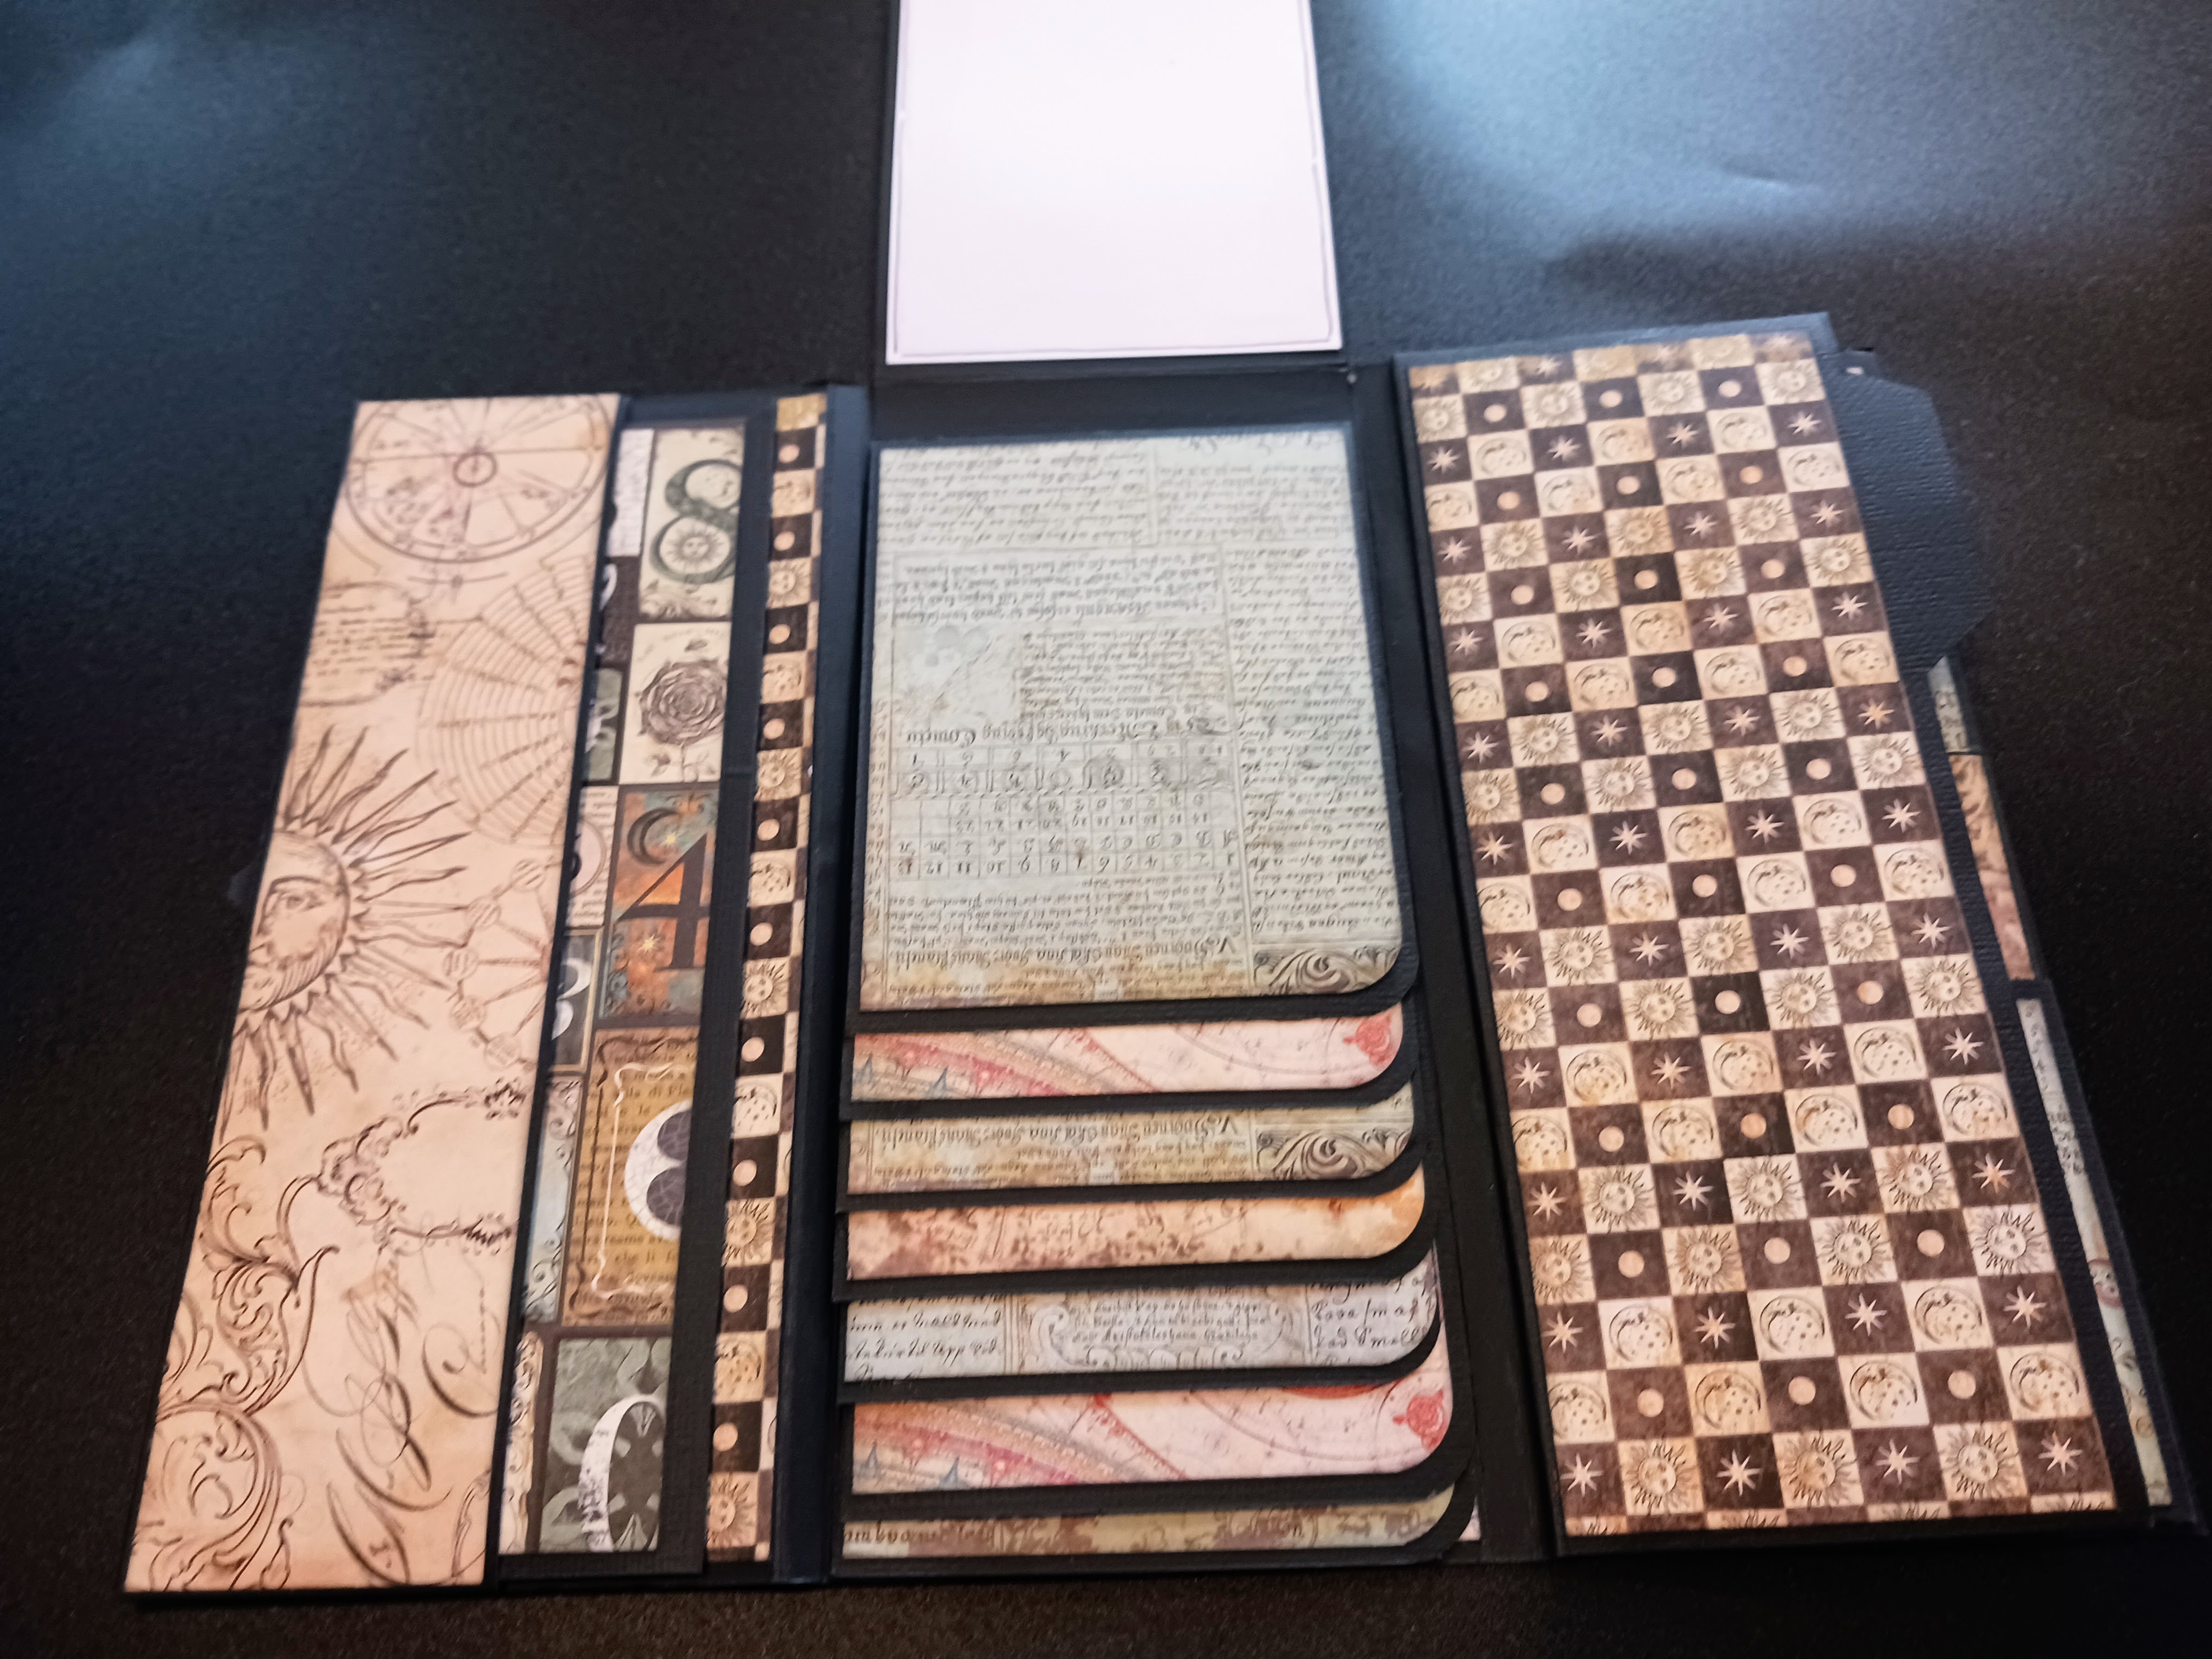
 Love everything vintage and Stamperia never disappoints! Using the collection Alchemy I was able to create 12 cards with matching envelopes, mini album and 12x12 layout.

See the video HERE

Cards:


Mini Album:


Lay-Out:


Monday, 20 February 2023

February 2023 Stick It Down Card Sketch Challenge


Love is in the air!


 I loved creating from this months sketch! I dug out all my dies that would help and I made 2 cards!

This one had a few extra steps but so worth the effort. First I cut out the hearts using a stitched heart in two sizes for the top piece. For the bottom piece I white heat embossed a back ground word stamp, making sure to mask off the small heart spaces and then using 3 shades of distress oxide ink (spun sugar, worn lipstick and picked raspberry, I blended the colors down the page. Using a slightly damp cloth I wiped off the ink from the embossed writing. I then attached the top piece to the bottom and popped up the smaller heart using pop dots. The 2 leaves were cut from two different types of silver foil and the love die using black card stock. Added a stamped "you" to the small heart. Add a few dots cut out from the left over glimmer card stock.


Bonus Card


Using a Gina K heart background die I cut out of white card stock and attached to a slightly larger Black card stock. Using a Spellbinder heart die the different sections were rain bowed colored and popped up. Using another die I cut out the phrase "to the moon and back" from back and adhered it to a postage stamped rectangle die. Stamped the word "you" in the bottom section of the heart.

Hope you are inspired and please link up your creation to the Stick it Down blog


Tuesday, 8 February 2022

Masculine Cards- Lavinia Style

Masculine cards can be a challenge but with Lavinia's gorgeous nature stamps and all their tips on how to use your mix media products (distress inks, jell plate, alchohol inks) it really is very easy!

Have a look at this beautiful set of six. All created using same method (jelly plate and distress inks) but each having slightly different tones of color.

I found Vicki Boutins Foundation paper to be the best results but do experiment with what you have.

Sentiments from photo play "say it" sets- again a huge bang for your buck with these stamp/die sets.

Added sewing and a few fresh pink pearls for the win!

Complete list of products below with links to store if in stock. If not in stock please reach out to Pear Tree Treasures and Monica will assist.

Let me know what you think :)


Lavinia Products: Monica tells me the Lavinia stamps she had in stock were so popular they sold out! Good news is she has more on route. In the mean time the inks are fabulous! Stamps I used: Ducks, Small Stag; Red Pine Small (the other 2 smaller trees were extra small from my stash)

Distress Inks: Bundled Sage; Speckled Egg; Dried Marigold; Wild Honey; Hickory Smoke; Peeled Paint
 
Tools: Stamping Platform of some kind for repetitive stamping in same spot. Pear Tree has this one; 4" Round Jell pad- Pear Tree has a 5 x 7 which could also work, you would just have a different design- FYI I had my round one for over a year and first time using. I generally go to my 5x7; Spray bottle; Glass Mat- makes clean up so easy!

Other stamps/Dies: My most favorite are the "Say it" collection by Photo play!

Embellishments: Pink Fresh Pearls 
 
Embossing powder: Used with the sentiment stamps

Sunday, 11 October 2020

To the Boy's I love

 Making cards is something I really like to do when I want to feel accomplished in a short period of time. Batch creating still allows you to make each card unique but allows for more efficiencies in getting multiple cards done at once.

Male cards can be challenging and once of the things that always helps me is getting grudging!

Paper line used: Very old in my stash but a line I treasure- Kaiser Craft Barber Shoppe

Also used were items from my stash: Glassine bags; Tim Holtz Ink; Star Die; Metal embellishments, washi Tape and string.

There are cute little tags in each bag to pull out and personalize.


Thursday, 1 February 2018

Chasing Dreams Take 2

My last post was featuring Maggie Homes paper and embellishments and this post is the same with a twist!

Cards don't need to be complicated to be really sweet. What about using left over embellishments to be the focus of your card designs?

Check them out.

Card one


Front panel was cut out from the tags and panel sheet in the kit as well I used a word phrase sticker, a chipboard heart and a puffy pink bow.


The inside of card 1 features a piece of left over pattern paper, cream card stock which was framed by more of those word phrase stickers and a gold chipboard bow.


Can never forget the back of the card :) which has been decorated with a chipboard xoxo

Card two


Front panel features left over pattern paper (two layers), a sticker with a saying I adore "Have courage and be kind" and then a little heart


Inside panel decked out with pieces of left over pattern paper and a sticker


On the back, this cute chipboard sticker

Card Three (and my fav!)


This front panel is all stickers layered on top of each other plus some gold hearts.


Inside is a piece of pink card stock, a piece of pattern paper and a tag cut from the tags sheet


The back is this beautiful butterfly

Card Four


Front panel is two layers of pattern paper, chipboard suitcase and word phrase stickers with a flat "adventure" sticker


Inside panel was the rest of the word phrase stickers and this sweet chipboard frame, bird and heart,

The back of this one came out too blurry to post but it too was decorated with stickers.

Difficult to see but these cards have a lot of dimension and design.

Always think outside of the box when creating


Saturday, 20 January 2018

Stencil Duo featuring Altenew

A huge shout out to Altenew for creating these beautiful stencils that don't only work alone, but combined, they offer a spectacular look. Also to Jennifer McGuire who is my hero in card making and this is her design that I've mimicked.


I used Rangers Speciality Stamping paper which is something like photo paper but not the same. It is heavy weight, has a gloss on one side which makes blending inks very easy. It is also great for muting colors slightly because if you use a baby wipe to remove ink after it's been sitting for a bit, it lightens right up.

Here are the stencils with ink combo's I used. Time holtz distrrss Oxide inks
The layered Medallion A and B:
  • Twisted Citron & Abandoned Coral
  • Broken China & Peacock Feathers
  • Lucky Clover & Peeled Paint
  • Salty Ocean & Faded Jeans
  • Fired Brick & Candied Apple
The Layered Kaleidoscope A and B:
  • Wild Honey & Spiced Marmalade
  • Wilted Violet &Seedless Perserves
  • Worn Lipstick & Picked Raspberry
  • Antique Linen & Fossilized Amber


To jazz them up a tad I used Nuvo Drops, Sequins and a die cut stitched sun. I also cut the inked piece using a nesting die and cute the word "smile" from black cardstock to the top. The sun is popped up to offer some dimension.